
The Banana Cat campaign at a glance
Banana Cat has 30 rooms in six chapters. Every fifth room ends with Shield Dog. To clear any room, destroy all breakable objects and defeat its complete enemy roster, including enemies waiting to enter. Fixed furniture is cover and never counts as a target.
New attempts in rooms 21–28 introduce eight upstairs encounters, one per room; rooms 29–30 mix them. An attempt saved before this update keeps its previous enemies and attacks until you start a new room or restart.
Use this directory to check a room’s object count, main threats and next unlock. Room titles are English guide labels; the counts and encounters describe the current browser game. Start with movement and firing controls, or use the Banana Cat wiki to choose another topic.
A room unlock is different from a purchase. New rooms and the six additional weapon types open through clears; quality and refinement still require coins and their other conditions. The original six weapon types can also unlock through cumulative destruction, so their availability does not depend only on room clears.
Jump to your room
Choose a chapter, then use its five-room table. Each room entry has a direct link for returning to the same encounter.
Chapter 1: Snack Supply Station · Rooms 1–5
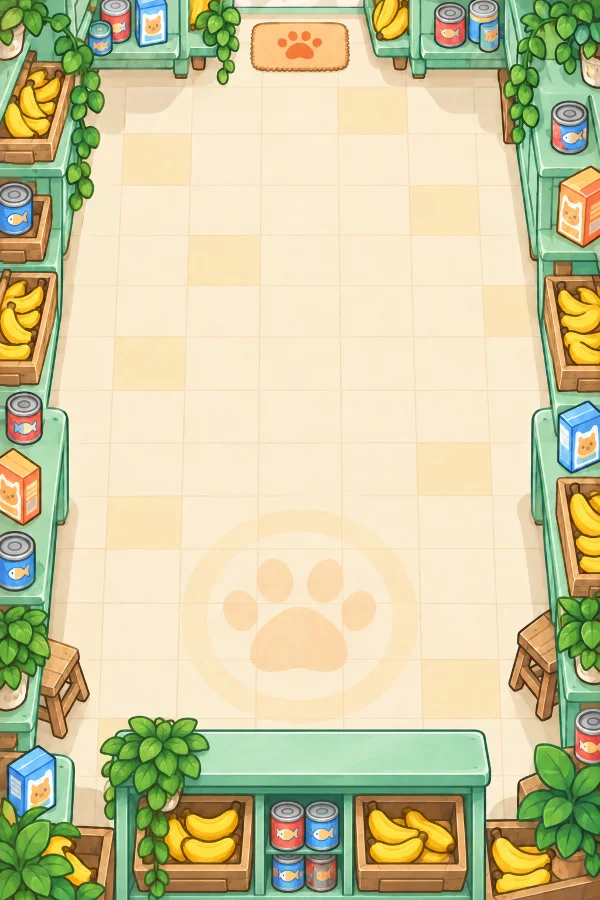
Learn the difference between clearing objects and clearing enemies. Two fixed snack counters divide each room, so cross around a counter’s end when a target is hidden. In room 1, the object groups lead from the lower starting area through the left, right and upper parts of the room. Later rooms add chain reactions and overlapping ranged attacks.
Before the boss: clearing room 4 opens the first shared quality purchase. Buy it from the menu if you have enough coins; passing the room alone does not buy the upgrade.
| Room | Required clear | Route, threat and milestone |
|---|---|---|
| 1. The First Tear | 34 objects 4 cats | One Paw Cat enters at the start. After a five-second opening window, each later cat can become eligible when 8, 18 or 26 objects break, when all cats before it are defeated, or when active play reaches 8, 18 or 28 seconds respectively. The two-cat cap and entry spacing can delay an eligible cat. Follow the four-step level 1 picture guide and keep the middle passage available when Didi’s ring appears. |
| 2. Knock, Knock | 34 objects 4 cats | Three chain clusters make the object counter move quickly. The second Paw Cat–Didi pair can queue after 9 objects, 2 earlier defeats or 8 seconds, subject to the two-enemy limit; do not assume breaking a cluster earns an empty room. |
| 3. Three-Shot Reply | 30 objects 6 cats | Cream Cat joins Didi for the first time. Move across the three-shot fan’s locked direction, then use an open side of a counter for return fire. |
| 4. Snack Cleanup | 28 objects 8 cats | Three ranged cats can be active at once. Reposition between the counters when ring and fan patterns overlap. After the clear, quality II is available to buy for 600 coins. |
| 5. The Shield Check | 27 objects 6 cats + boss | Defeat six opening cats before Shield Dog enters. This version uses a close slash without a shield rush; leave the marked sector, then attack during recovery. Read the boss openings. |
Chapter 2: Living Room Dance Floor · Rooms 6–10
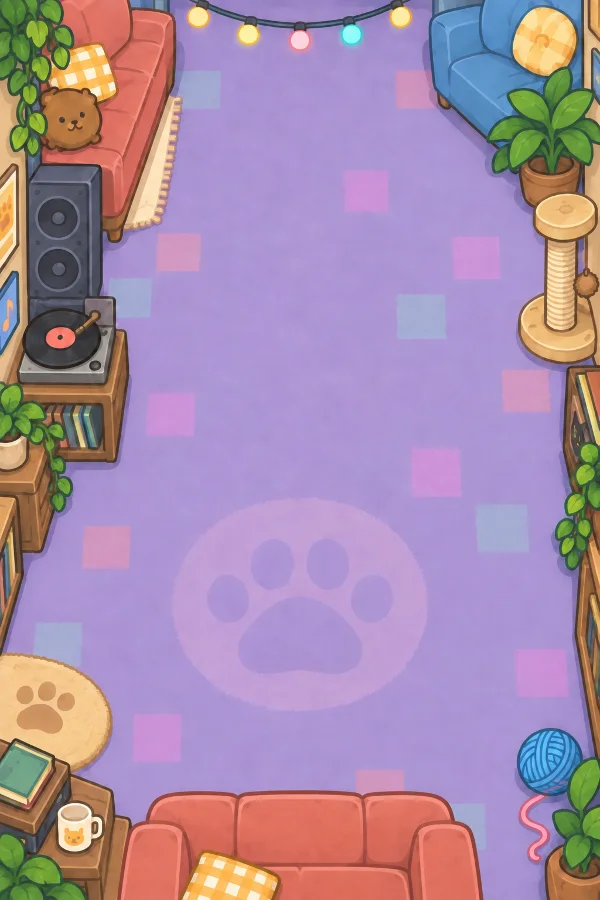
The ordinary rooms now have three fixed sofas. They break up a long straight retreat into several shorter lanes. Keep a route across a charge warning, rather than backing toward the next sofa. A sofa can interrupt a charge, but it also blocks your return fire.
New decisions: room 7 introduces Spinning Tabby, and room 9 adds Shy Tabby’s hearts. Yarn Bouncer becomes available after room 6; use manual aim to bank off a flat furniture edge. It does not shoot through the sofa.
| Room | Required clear | Route, threat and milestone |
|---|---|---|
| 6. Paw Dance Practice | 42 objects 8 cats | Four Paw Cats share the roster with two Didi and two Cream Cats. Use the sofas to separate close swipes from ranged attacks. Clearing this room unlocks Yarn Bouncer. |
| 7. Here Comes the Spin | 44 objects 8 cats | The first Spinning Tabby fixes a straight charge lane. Cross it sideways before the charge starts; retreating down the same lane wastes the warning. Three spin cats appear across the room. |
| 8. Living Room Rehearsal | 38 objects 8 cats | Paw, Cream and Spinning cats mix across three waves. Keep a second route around the sofa when moving in to fire. Quality III becomes available after this clear for 1,000 coins. |
| 9. Blushing Trouble | 34 objects 9 cats | Every group contains Didi, Cream Cat and Shy Tabby. Shoot or avoid the heart before it slows the movement you need for the next ring or fan. No Paw Cat or Spinning Tabby is in this room’s roster. |
| 10. Dog on the Charge | 31 objects 6 cats + boss | The opening roster has two Paw, two Spinning and two Shy cats. The boss alternates a straight rush with a slash. Clearing room 10 unlocks Bubble Tea Blaster and Cry Burst. |
Chapter 3: Kitchen Box Maze · Rooms 11–15
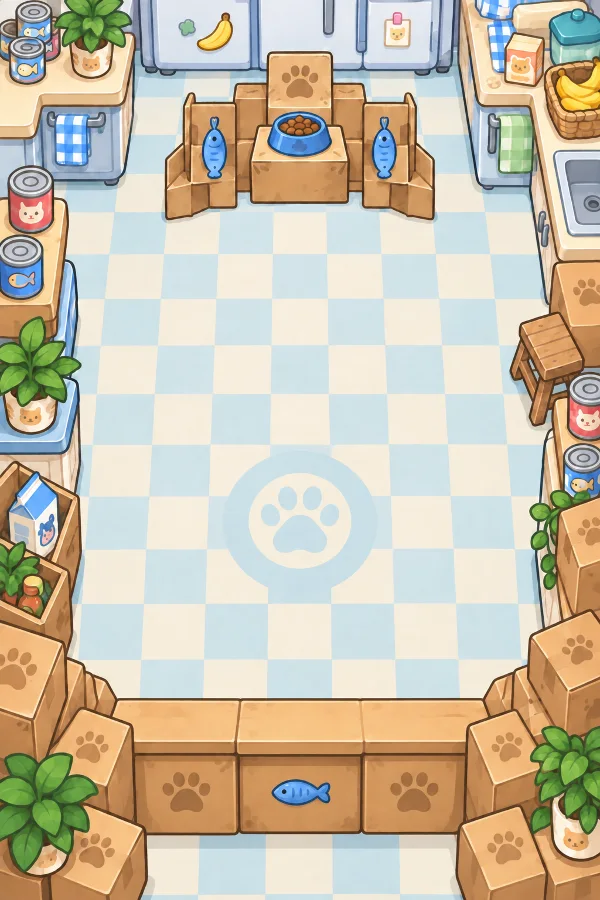
Four islands divide each ordinary room; the boss room uses two. The Golden-Eyed Black Cat adds a landing marker from room 11. Choose an exit from that marker before approaching an island corner, where another cat may appear around the other side.
Combine the tells: a pounce asks you to leave a spot, a spinning charge asks you to cross a lane, and a ring asks you to find its gap. They are different movement problems. Use the warning comparison when mixed waves become confusing.
| Room | Required clear | Route, threat and milestone |
|---|---|---|
| 11. Those Golden Eyes | 50 objects 8 cats | Two Black Cats introduce marked pounces alongside Paw and Cream cats. Leave the landing mark before lining up your next shot; it is fixed when the warning begins, not a marker to follow. |
| 12. Open with a Bang | 54 objects 9 cats | Pounces, charges and fan shots share the room. Attack a visible object cluster from an open angle, then check the next warning before moving between islands. Quality IV becomes available for 1,200 coins after the clear. |
| 13. Out of Step | 44 objects 9 cats | Didi, Shy Tabby and Black Cat appear in each group. A heart near a landing marker is a reason to change position early. Remove or avoid the heart instead of relying on full movement speed for a last-second dodge. |
| 14. Kitchen Shuffle | 40 objects 11 cats | This is the first ordinary room with an active-enemy cap of four. Expect Paw, Cream, Spinning and Black cats across the roster. The clear unlocks Fishbone Returner and opens refinement +1 if shared growth VIII is also reached. |
| 15. The Combo Test | 35 objects 6 cats + boss | Didi, Spinning and Black cats form the opening six. Shield Dog now links a rush to a separately warned slash. Keep moving after the rush stops; the brief pause is not the final recovery window. |
Chapter 4: Freezer Base · Rooms 16–20
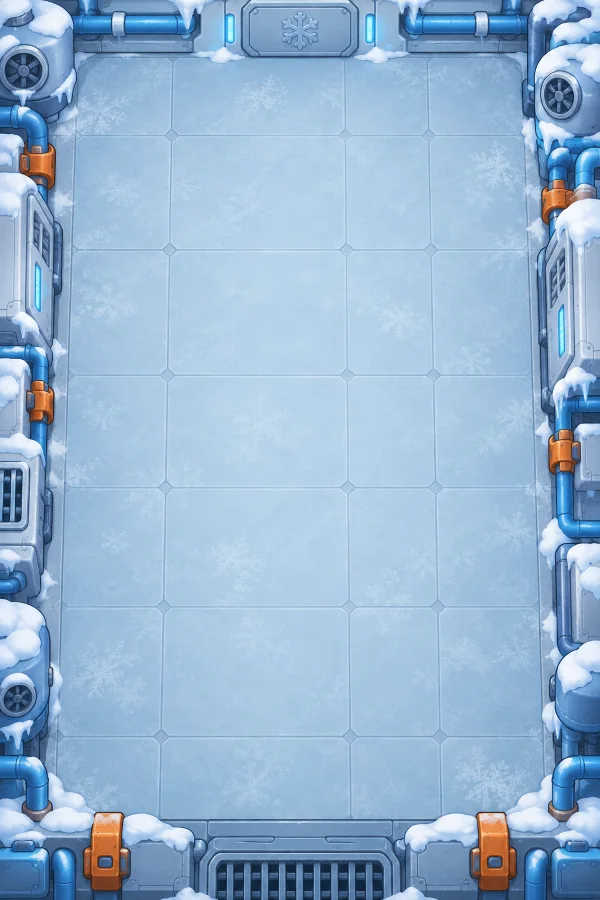
This chapter has 681 breakable objects, the largest cleanup load in the campaign. The ordinary rooms have four fixed freezers, while the boss room has two. Work through one visible group, move around the next freezer, and check which enemies have entered before committing to another long firing burst.
Cleanup is not combat damage: an exploding map object can set off nearby objects, but that environmental chain does not damage cats. Defeat the enemies with your weapons or skill. Piercing and splash weapons still need open paths around furniture.
| Room | Required clear | Route, threat and milestone |
|---|---|---|
| 16. Rainbow Lineup | 117 objects 9 cats | Black, Cream and Shy cats accompany 117 objects. This is the first large freezer cleanup: align targets along open lanes, then change sides when a freezer blocks the shot. Quality V becomes available for 1,450 coins after clearing. |
| 17. Freezer Footwork | 126 objects 9 cats | Each group mixes Didi, Spinning and Black cats. A sideways move out of a charge must also leave the pounce marker; avoid committing to the gap in one warning without checking the other. |
| 18. Chain-Reaction Party | 135 objects 12 cats | Four enemy types can share the fight: Paw, Cream, Shy and Spinning cats. Do not expect a prop chain reaction to remove them. Clearing unlocks Candy Minelayer and opens refinement +2 after growth VIII. |
| 19. The Last Cat Dance | 153 objects 12 cats | The campaign’s largest object count accompanies Black, Didi, Shy and Spinning cats. Clear groups as you travel, but keep a route away from the freezer corners when hearts and charge warnings overlap. |
| 20. Defender of the Fridge | 150 objects 8 cats + boss (includes 2 reinforcements) | Clear six opening cats, then take the boss to its half-health phase change. Spinning Tabby and Shy Tabby are finite reinforcements, in that order. Both must fall, along with the boss and all objects, to open Laundry Loft. |
Chapter 5: Laundry Loft · Rooms 21–25

Clear room 20 to enter. The loft has authored routes around offset laundry units: travel up one side, cross through an open upper gap, and return along the other side. Either direction is valid. Switch your route when a charge, tear pool or fire circle closes the next gap; these are travel suggestions, not protected lanes.
Rooms 21–24 grow from two to four furniture groups, then room 25 returns to two for the boss. Your owned weapons, shared growth and quality carry over. The chapter does not require an extra purchase to open.
| Room | Required clear | Route, threat and milestone |
|---|---|---|
| 21. Fresh Air | 48 objects 6 enemies | Scared Hamster opens with a raised-cross windup and a close sector swipe. Leave the sector, then use an outer route around the two laundry units. Didi joins later; keep its ring gap in view. At most two enemies are active. |
| 22. Between the Baskets | 60 objects 8 enemies | Smug Goat introduces a short straight charge. Cross its lane sideways before entering the next laundry gap; other cats still join the fight. Clearing unlocks Feather Chain Wand and opens refinement +3 after growth VIII. |
| 23. A Letter in the Laundry | 60 objects 9 enemies | Crying Cat marks your position, then leaves a tear pool there. Leave the circle before it lands and keep clear until the pool disappears. Shy Tabby still joins the second group; avoid its heart before a narrow turn. |
| 24. No Corner to Hide | 72 objects 10 enemies | Fire Chihuahua stamps a short-lived fire circle in front of itself. Leave the marked circle and avoid stepping back into the flames. Four furniture groups divide the room; later Black Cat and Didi attacks still need open escape routes. |
| 25. The Laundry Inspector | 48 objects 6 enemies + boss | Mellow Capybara rolls a citrus fruit down the marked lane. Dodge it or hit it with two separate shots; pellets from one shotgun blast count as one hit. Defeat all six opening enemies, then dodge Shield Dog’s rush and separately warned slash. There are no boss reinforcements here. |
Chapter 6: Rooftop Garden · Rooms 26–30

Clear room 25 to reach the roof. Fixed planter benches block movement and shots; the small breakable targets around them still count toward completion. Look for an open angle past the end of a bench before firing, particularly when a ranged cat remains on the far side.
The opening room uses two benches and two active enemies at most. The layout grows denser through room 29, then room 30 returns to two benches for the final boss. After clearing the campaign, earlier rooms remain available for replays.
| Room | Required clear | Route, threat and milestone |
|---|---|---|
| 26. A Patch of Sunshine | 54 objects 6 enemies | Marmot Duo introduces two separate enemies working together on a shove. Cross the marked lane; defeating either partner cancels their pairing and leaves the survivor with a slower close attack. Clearing unlocks Sunflower Charger and opens refinement +4 after growth VIII. |
| 27. Walk Around the Planters | 66 objects 9 enemies | Shrug Guardian marks two palm circles at once, then strikes the first and the second half a second apart. Leave both marks instead of dodging into the second one. Spinning cats and a later Didi still share the roof’s three planter lanes. |
| 28. Postmarks in Bloom | 72 objects 9 enemies | Screaming Marmot sends an expanding sound-wave arc through its marked sector. Leave the sector or use a planter to break its path. Check for the remaining cats before leaving cover; furniture blocks your shots too. |
| 29. One Last Round | 84 objects 12 enemies | All eight upstairs encounter types return across four groups, alongside remaining familiar cats. Twelve ordinary enemies share a four-enemy active cap, with at most two attack groups at once. Complete this room to open refinement +5 after growth VIII. |
| 30. A Home Above the Clouds | 60 objects 8 enemies + boss (includes 2 reinforcements) | Six opening enemies mix Shrug Guardian, Mellow Capybara, Fire Chihuahua, Smug Goat, Screaming Marmot and Crying Cat. Shield Dog changes phase at half health, adding Shy Tabby then Spinning Tabby. Clear both reinforcements, the boss and all 60 objects to finish. |
Which rooms unlock weapons, upgrades and chapters?
The table highlights clear-based milestones. Cumulative destruction has its own shared growth track, and every weapon uses that shared power. Refinement is available only after growth VIII, the named room clear and the required coin purchase.
| After clearing | What becomes available | What to do next |
|---|---|---|
| Room 4 | Quality II · 600 coins | Open Weapons between fights to buy the shared upgrade. |
| Room 5 / 6 | Living Room / Yarn Bouncer | Learn a manual bank shot around sofa edges. |
| Room 8 | Quality III · 1,000 coins | Check the shared upgrade before the heart and boss rooms. |
| Room 10 | Kitchen · Bubble Tea Blaster · Cry Burst | Bubble slows ordinary walking; Cry Burst needs a filled meter. |
| Room 12 / 14 | Quality IV · 1,200 coins / Fishbone Returner and refinement +1 | Leave a clear return path for the fishbone. |
| Room 15 / 16 | Freezer Base / Quality V · 1,450 coins | Upgrade before moving deeper into the large object fields. |
| Room 18 / 20 | Candy Minelayer and refinement +2 / Laundry Loft | Carry another weapon for any objects left after the enemies fall. |
| Room 22 / 25 | Feather Chain Wand and refinement +3 / Rooftop Garden | Chain jumps need a clear path between targets. |
| Room 26 / 29 | Sunflower Charger and refinement +4 / refinement +5 | Choose a clear firing lane before holding a charge. |
| Room 30 | Campaign complete | Replay a cleared room or revisit the arsenal. |
Check the additional weapon unlocks, quality prices and refinement requirements before spending coins.
Why has the next room not opened?
Both the object counter and the full enemy roster must be complete. The campaign contains 1,870 breakable objects; furniture is excluded. Each room has two to four fixed furniture groups. They block movement and shots but have no health, reward or completion requirement.
A defeated boss is not enough if an object or reinforcement remains. Conversely, destroying the last object does not remove a living cat or cancel a pending wave. If the visible room looks empty, check the room-not-clearing checklist before restarting.
Replaying rooms and keeping progress
There are also 21 collectible postcards. Finish any room each day, including a replay, then choose Claim postcard on the result screen or in Collection for your next uncollected card. You can claim one per local calendar day; room 1 counts. Missing a day does not lose cards or skip ahead. Earlier saved clears do not qualify for today’s card. See postcard claims and saving.
Clearing a room opens the next one in order. Earlier unlocked rooms remain available on the chapter map. Replays reward newly destroyed objects and add to cumulative growth; each room’s first-clear bonus is paid once.
Free continue and restart are different choices: continue retains the current room’s destroyed objects and remaining enemy health, while restart begins a fresh attempt. Coins and permanent weapon progress already earned are retained. See growth and recovery for the combat choices, and Save & Data before switching browsers or clearing site storage.